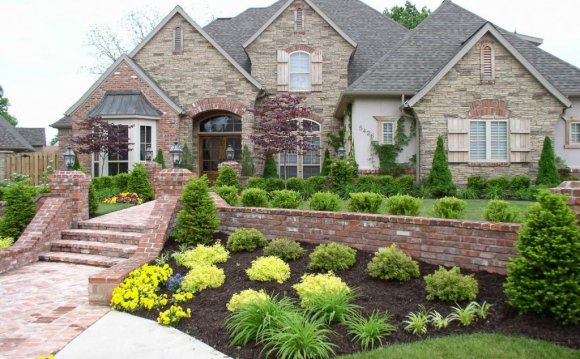
 As summer comes to a close and the cooler weather of fall is ushered in, you may find yourself called to the outdoors. When I think of fall my mind immediately travels to outdoor parties, football tailgates and sweating a little less in the garden. If you are like me you welcome fall with open arms, a trowel and a plan to spruce up the landscape. However, some may feel that designing a landscape is too daunting a task to take on. In this article I hope to scale down the design process into easy steps so that you can “tackle” your landscape just in time for football season!
The first step of any design process starts with a site analysis. When analyzing your yard take note of environmental conditions such as: sunlight, wind, water/drainage, soil, etc. Also, identify any public utilities, power lines, AC units, etc. that might present safety issues in the future. Make sure to take measurements of the existing landscape in order to have a plan to work off of. Proper analysis of your site is going to give you a better sense of what elements you will want to implement in your design and it will also save you time and money in the long run.
After you have gotten a good sense of your site’s conditions, you can start on the next step, a functional diagram. Functional diagrams are the beginning phase of the actual design. In a functional diagram you are going to take your plans and freehand bubbles and squares that will eventually turn into separate beds, patios and lawn areas. A functional diagram allows the designer to experiment with different functional arrangements in a given space.
Once you decide on an arrangement that you think fills the landscape appropriately, then you can decide on what visual theme you want your garden to express. A few examples of visual themes include: curvilinear, rectangular, circular and diagonal. Curvilinear themes give the landscape a more free flowing, calming feel. In contrast, rectangular themes lend a more formal and stoic impression.
After you choose a theme for your site it is time to work up a preliminary design and a master plan. The preliminary design should be comprised of existing plants and areas you don’t want to change, as well as your newly designed spaces.The master plan will incorporate the preliminary design and any new hardscapes, plants or structures. Be sure when you are designing that you always keep maintenance issues in the back of your mind! There is nothing more annoying then having to wade through shrubs to get to an AC unit or having a strip of turf that cannot be mowed do to inconvenient placement.
The final step of our process, and my personal favorite, is plant selection. When I design a landscape I try to put all thoughts about what plants I want to use out of my mind until the end. This allows me to plan without restriction and sometimes I end up with a more interesting design then I would have otherwise come up with.
When selecting your plants you want to remember the site analysis you originally prepared. The sunlight, water/drainage, soil and utilities of your landscape are going to help you narrow down your plant choices. Also, coming from a more artistic perspective, you’ll want to consider the color, form/shape and texture of a plant.
When contemplating color choices for your landscape you may want to decide on a theme such as: warm colors, cool colors, monochromatic (using varying shades of a single color) or a complimentary color scheme (orange and blue are always a good choice!). Having a theme will give your garden a more cohesive and put together impression. Hopefully this article helped assuage your doubts of implementing a DIY landscape. Now you can fearlessly implement a landscape that will make your yard the center of any fall activity!
YOU MIGHT ALSO LIKE


